 + 1-888-827-0150
 + 44-20-3006-2750


Lesson 5: The PowerPoint Window Guides
In this lesson, we’ll be looking at the different PowerPoint guides.
Objectives:
- To identify the different PowerPoint guides
- To discuss how these guides can help make our presentations more effective
Quick Navigation through the Lesson 5:
There are two main guides in PowerPoint—these are the Notes, Slides and Outline features. In this lesson, we’ll be discussing all three and how they can be used to help make your life easier when making presentations. In general, these guides are in place to help keep your slideshow organized. They also help you get ready for the sometimes nerve-wracking feat of presenting by showing you a clear picture of how your slides, ideas and bullet points are arranged so that you can either retain this arrangement or change it, depending on your need. In this part of our class we’ll be looking at these different features and showing you how to use them.
Slides
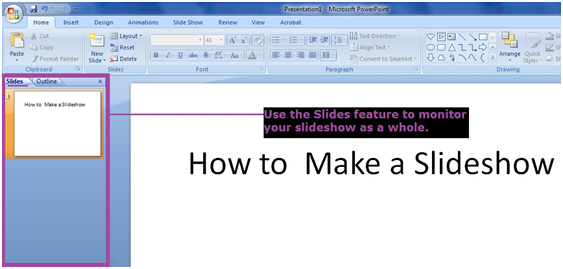
The slides feature is the left-most bar in your PowerPoint window. It shows you an overview of the slides which you have so far. This helps you keep track of how long your slideshow is as well as look at how the layout of your slide looks. This will help you ensure that your slides are consistent. When dealing with images, this also allows you to see whether or not your images (depending on their size) will show up once you view your slideshow.
Outline
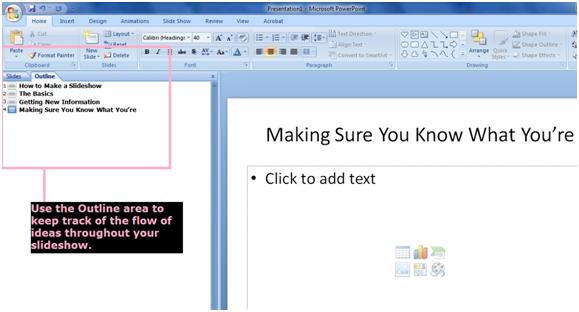
This feature helps you keep track of the titles of your slides—it helps you monitor the flow of your ideas throughout the presentation. This makes it easier for you to make sure you haven’t skipped anything and that your slides are sequenced correctly. It also helps you avoid confusing different slides you’re editing (this can very easily happen especially if you’re editing numerous slides) by highlighting the slide you’re currently working on in bright blue.
Notes
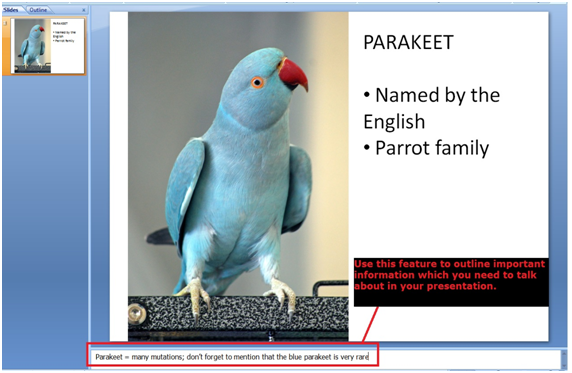
The Notes feature helps you keep track of things which you need to mention during your presentation or which are tangentially relevant to your topic but isn’t included in the actual text of your slides. This helps you deliver slideshows which are informative. Conversely, it can also help you keep track of things which you shouldn’t mention in relation to the slides. This is helpful because the notes don’t show up when it’s time to view the slideshow. It’s only visible when you open the PowerPoint file for editing.
In this lesson, we were able to discuss why PowerPoint’s easy-to-use guides are important when preparing slideshow presentations. We were able to look at guides which help us with our presentation’s layout and alignment (Slides), flow (Outline) and information (Notes). We were also able to point out where in the PowerPoint window these features are located, making it easier for us to get to them once we begin making our own slideshows.
Try Our Exercise And and Prep Yourself for the Real Thing
Next we’ll be discussing the different views which PowerPoint offers. This will help us distinguish the different ways in which we can look at our presentation and how these different viewing options are useful to us as PowerPoint users. We will also be pointing out how to access these different options.

